
Welcome to the world of Chilean cooking! Pilar wrote The Chilean Kitchen, and writes Chilean Food & Garden. Indulge in our delectable desserts and uncover the secret behind Chileans’ sweet tooth, or enjoy the savory delights that make our cuisine so irresistible. There’s something for everyone, so come on in and let’s explore the wonderful world of Chilean food together! ¡Bienvenidos!
try some of our
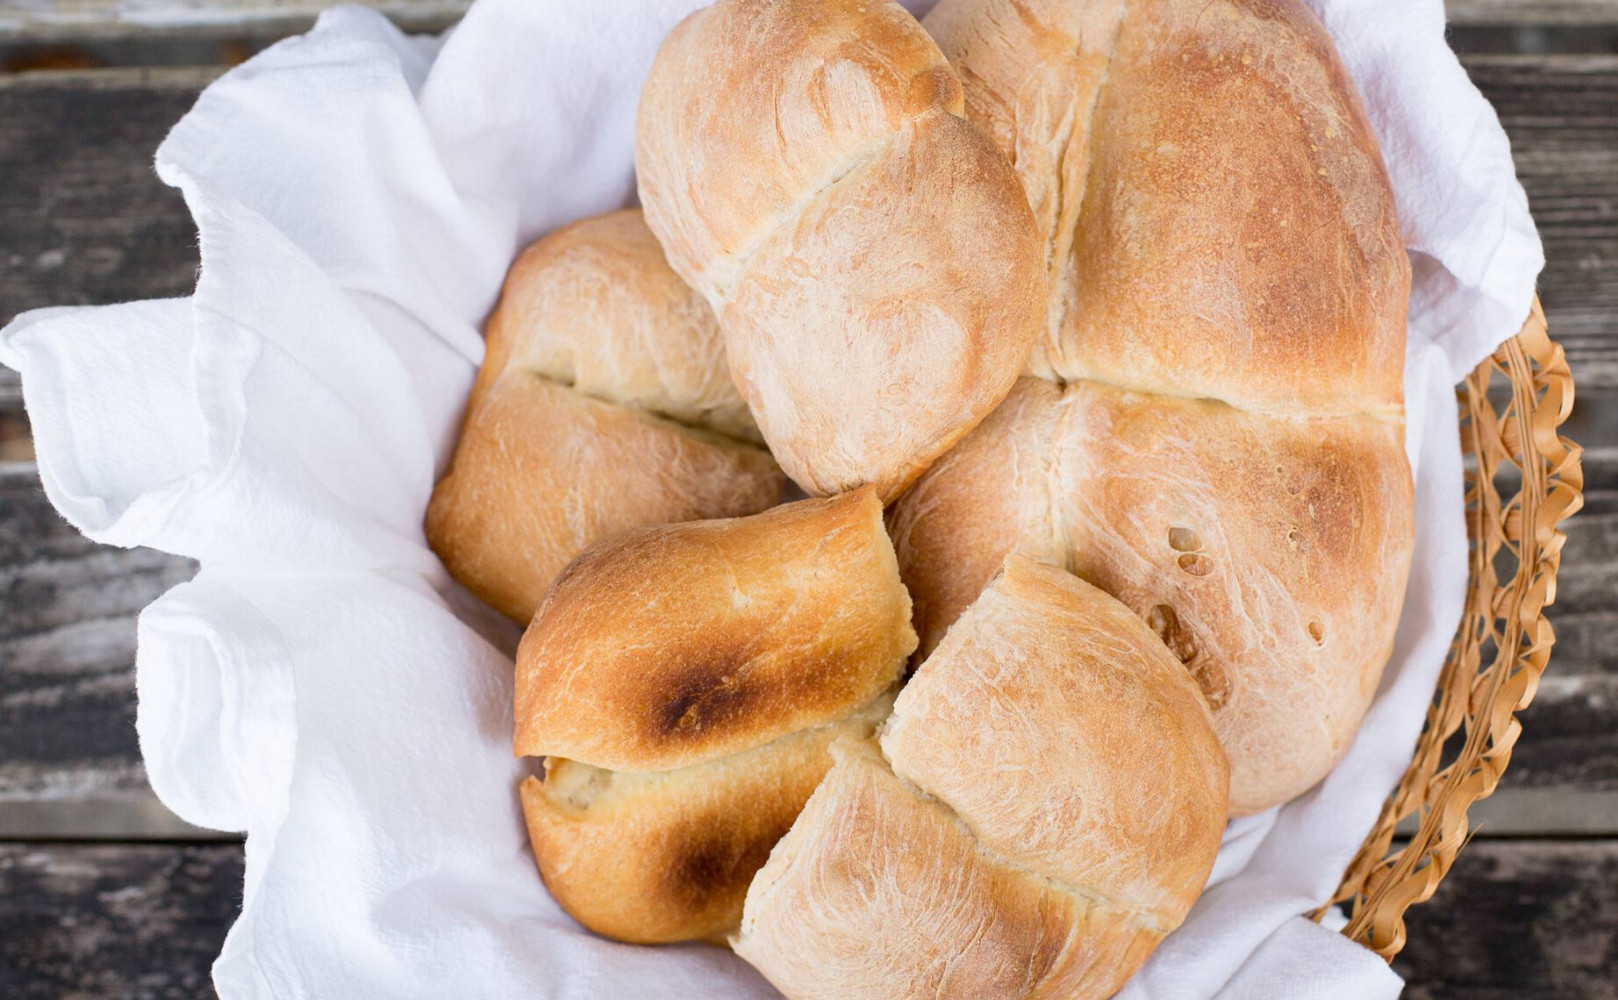
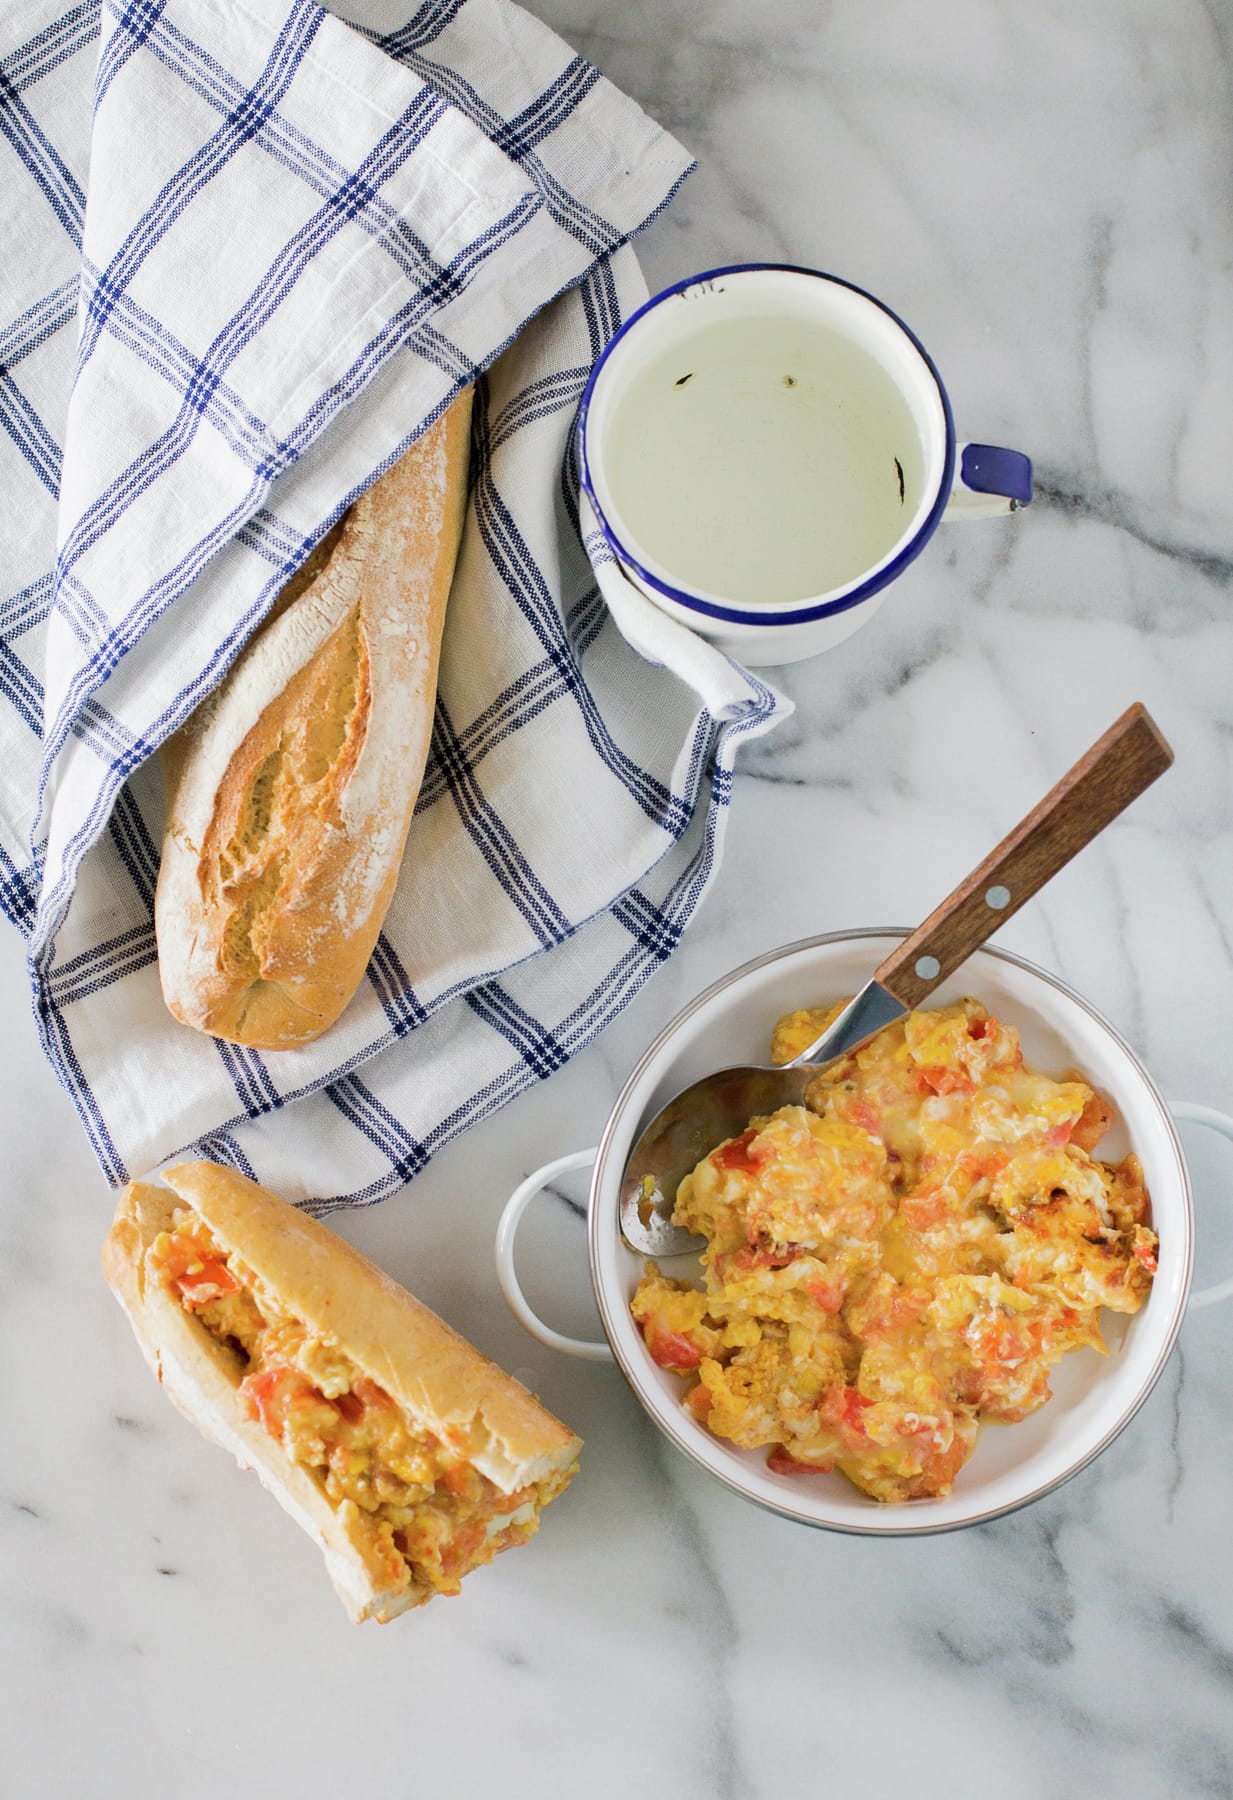
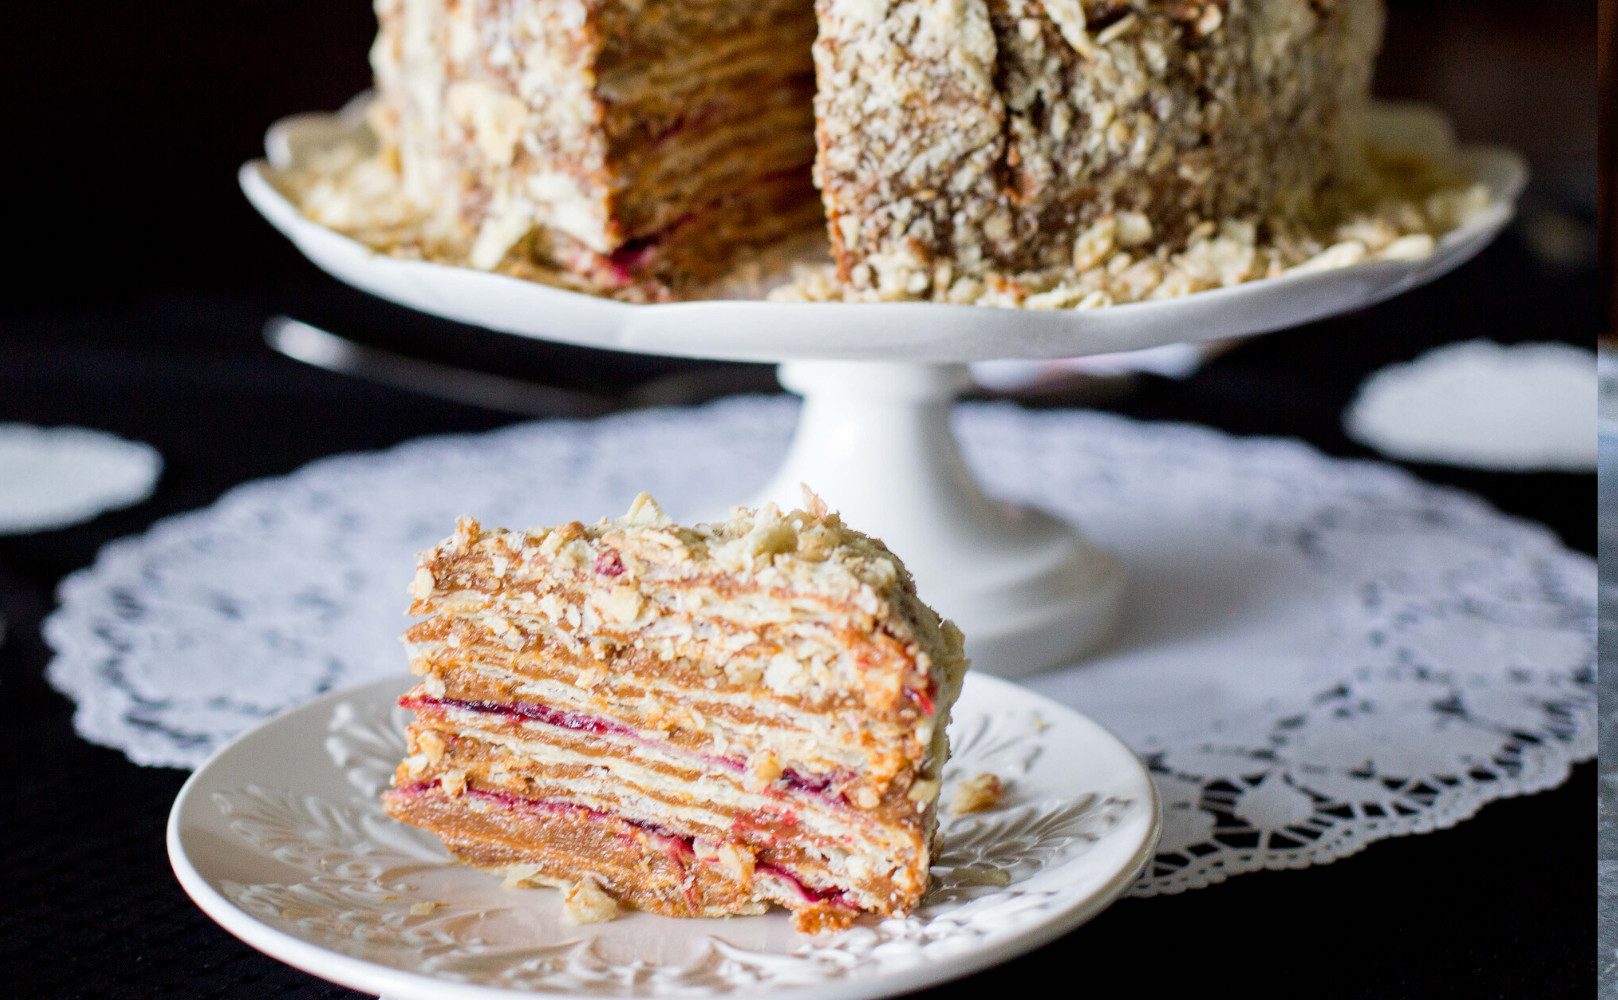
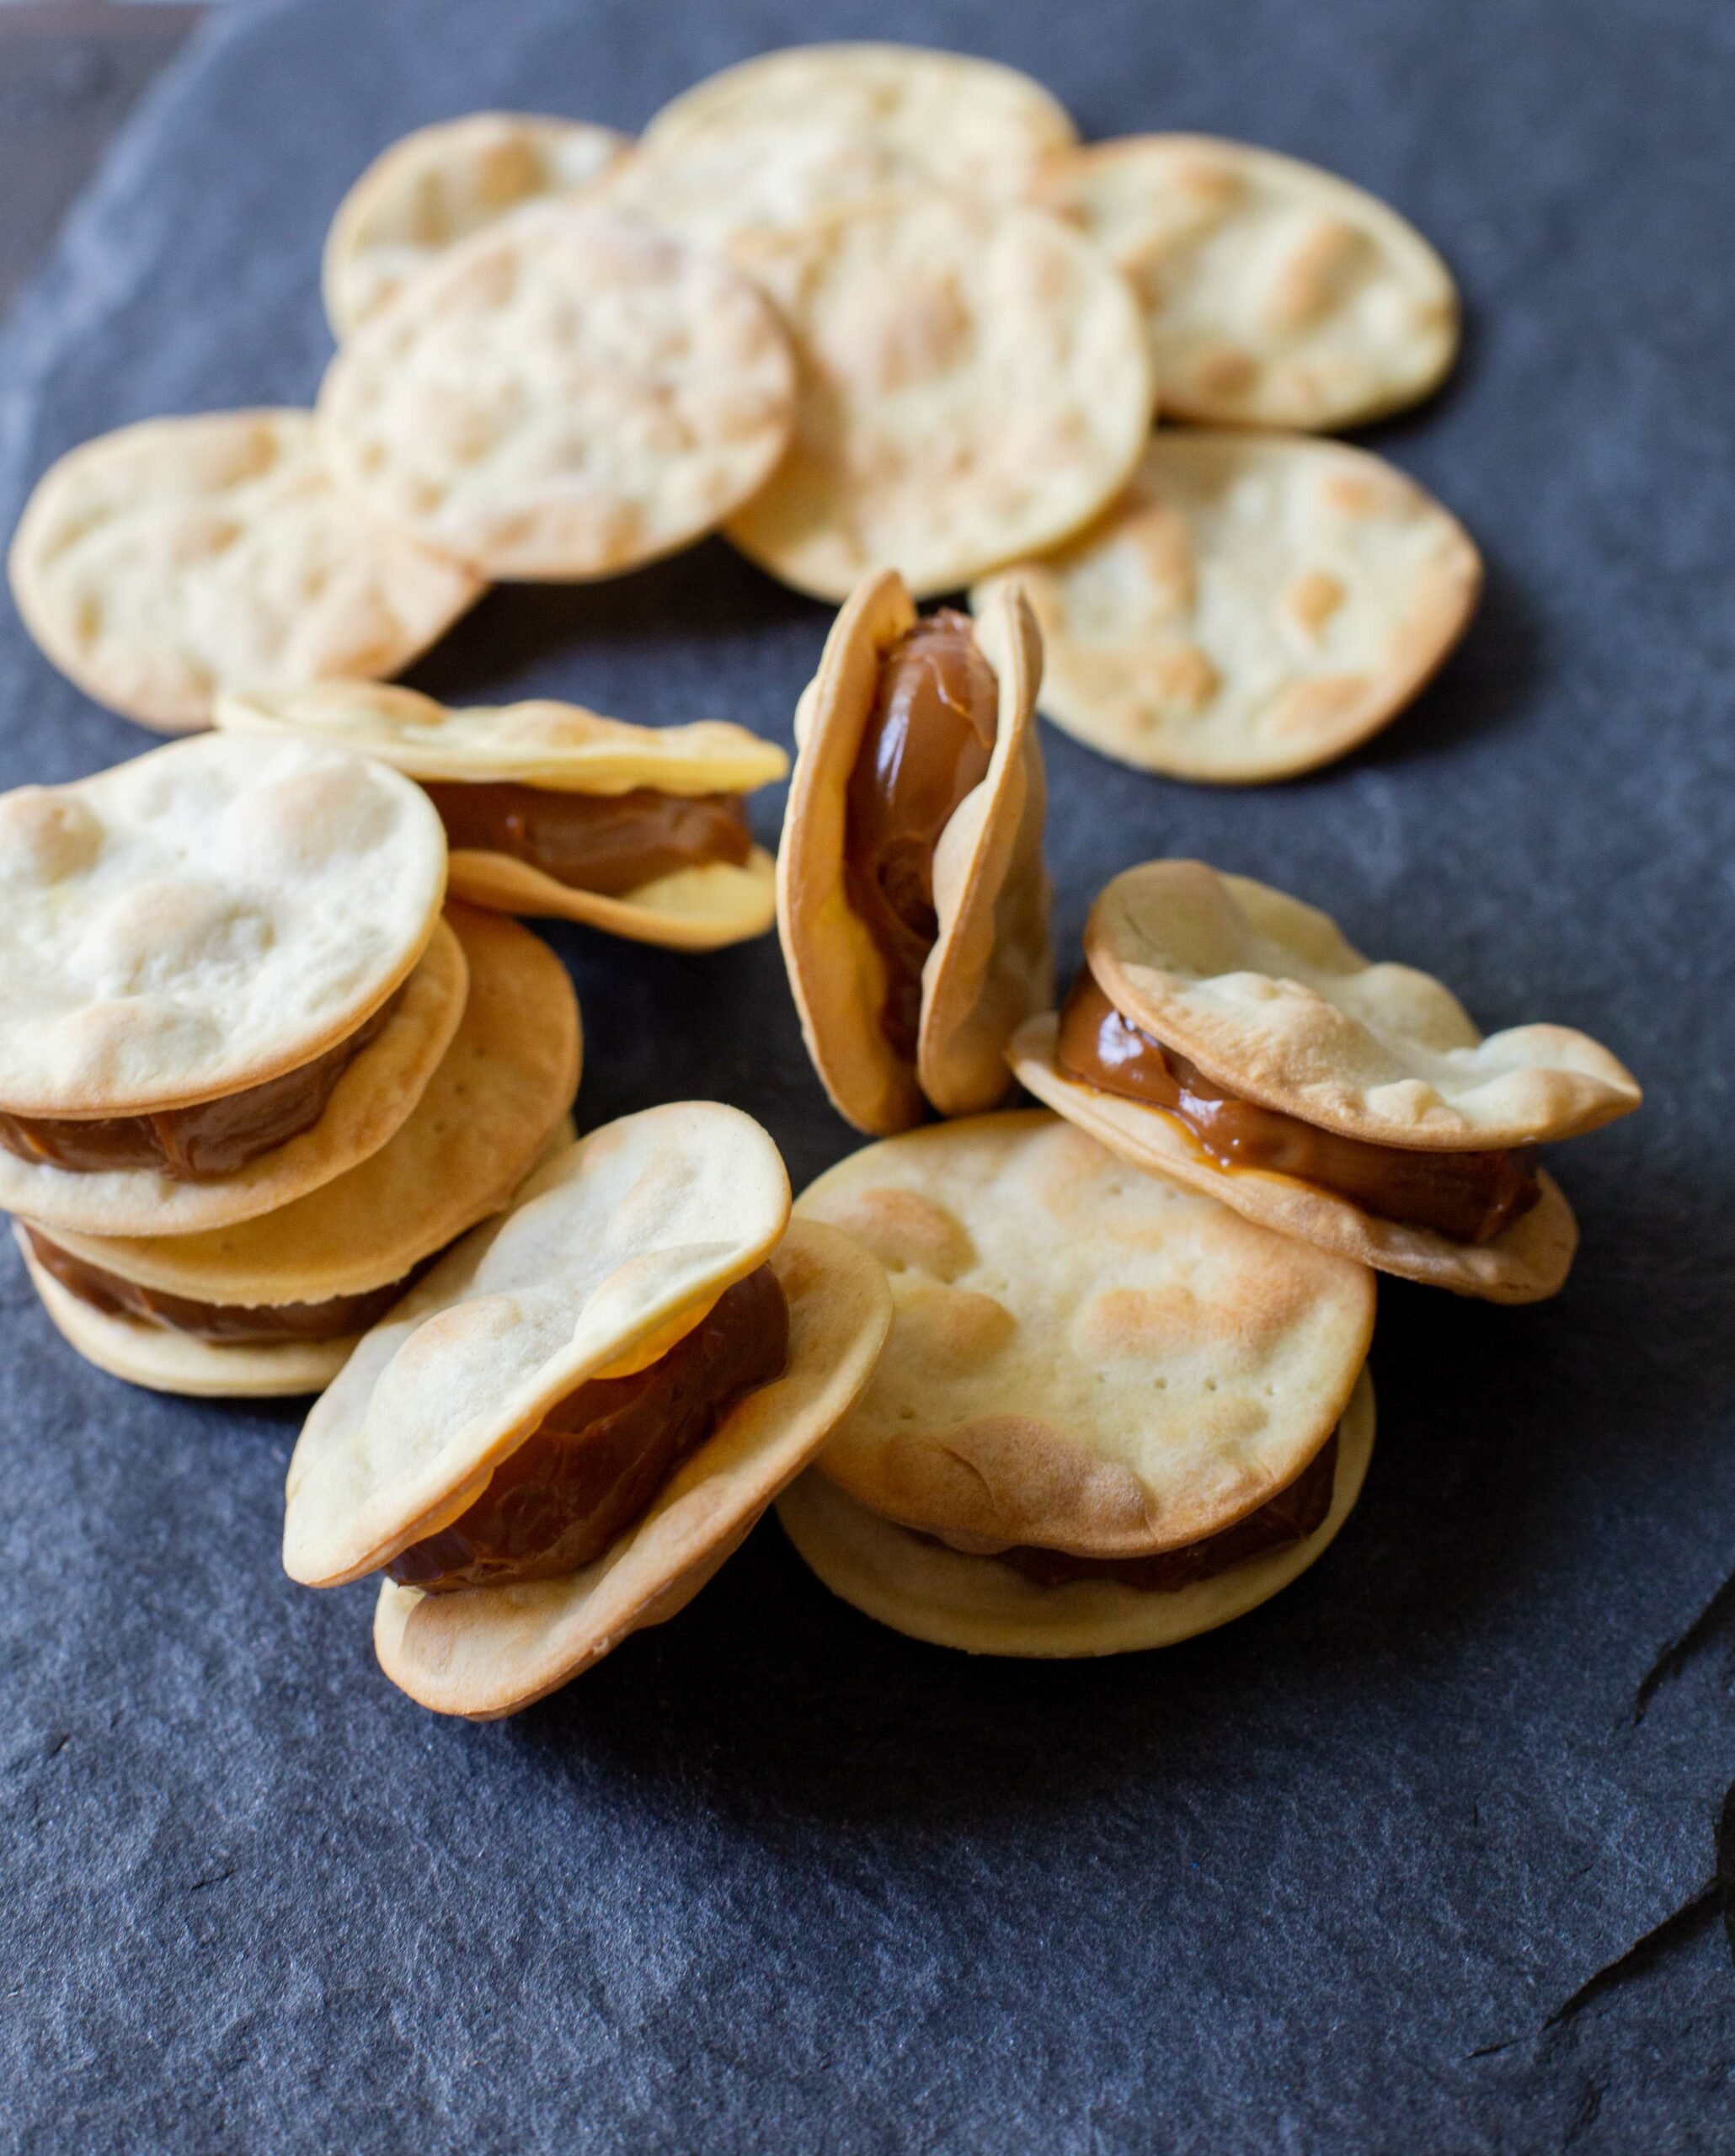
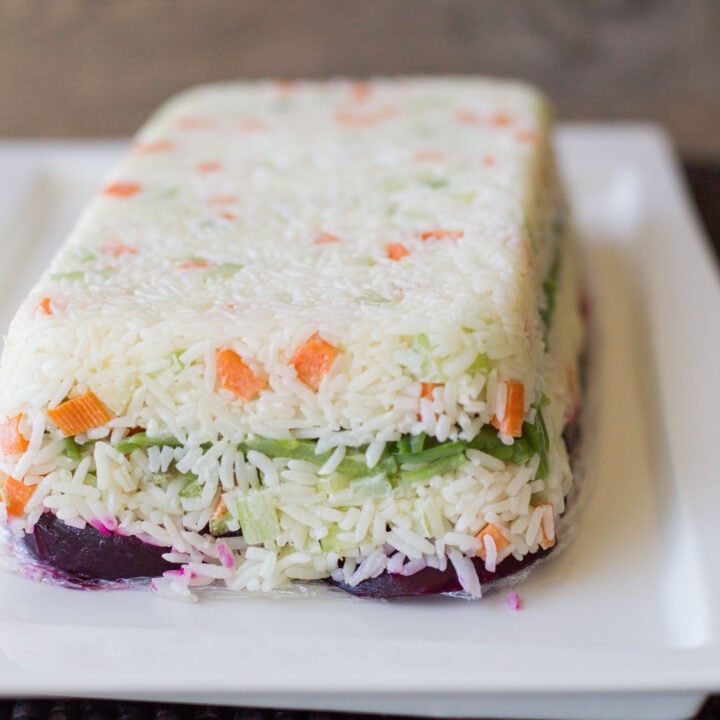
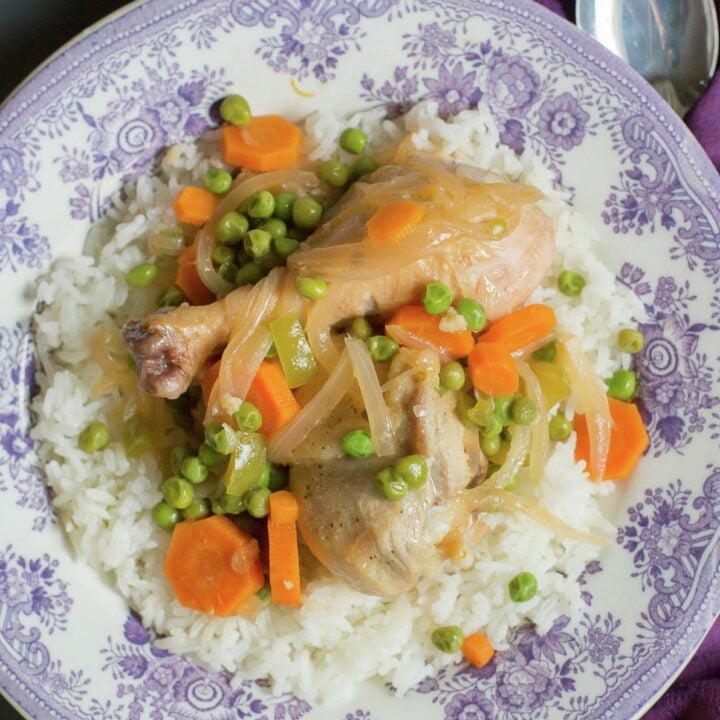
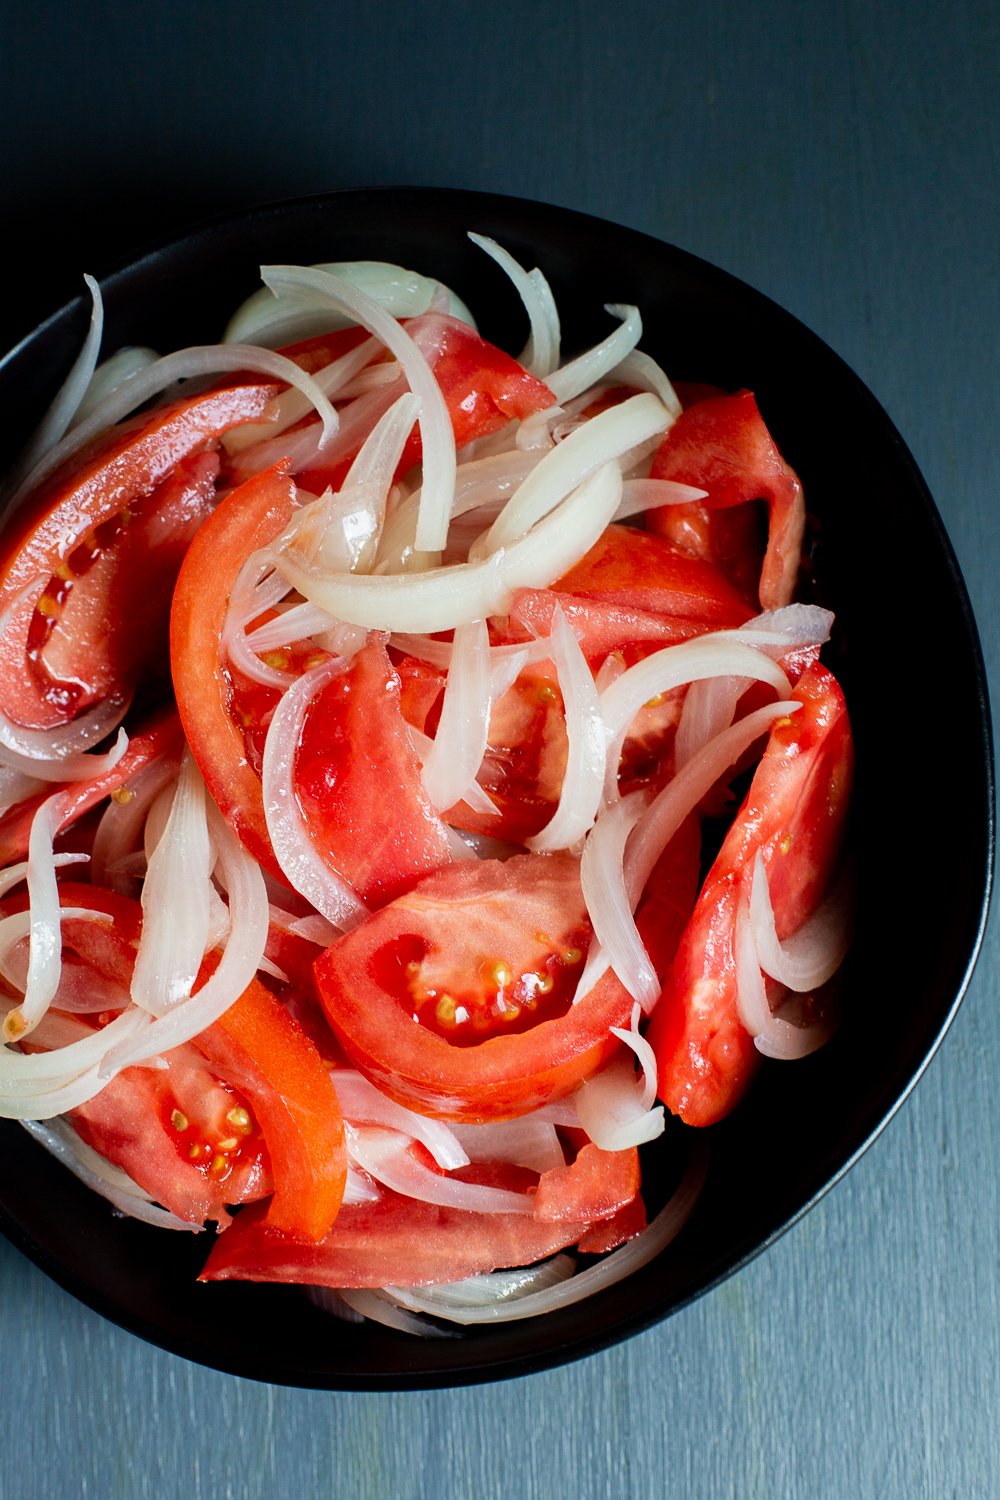
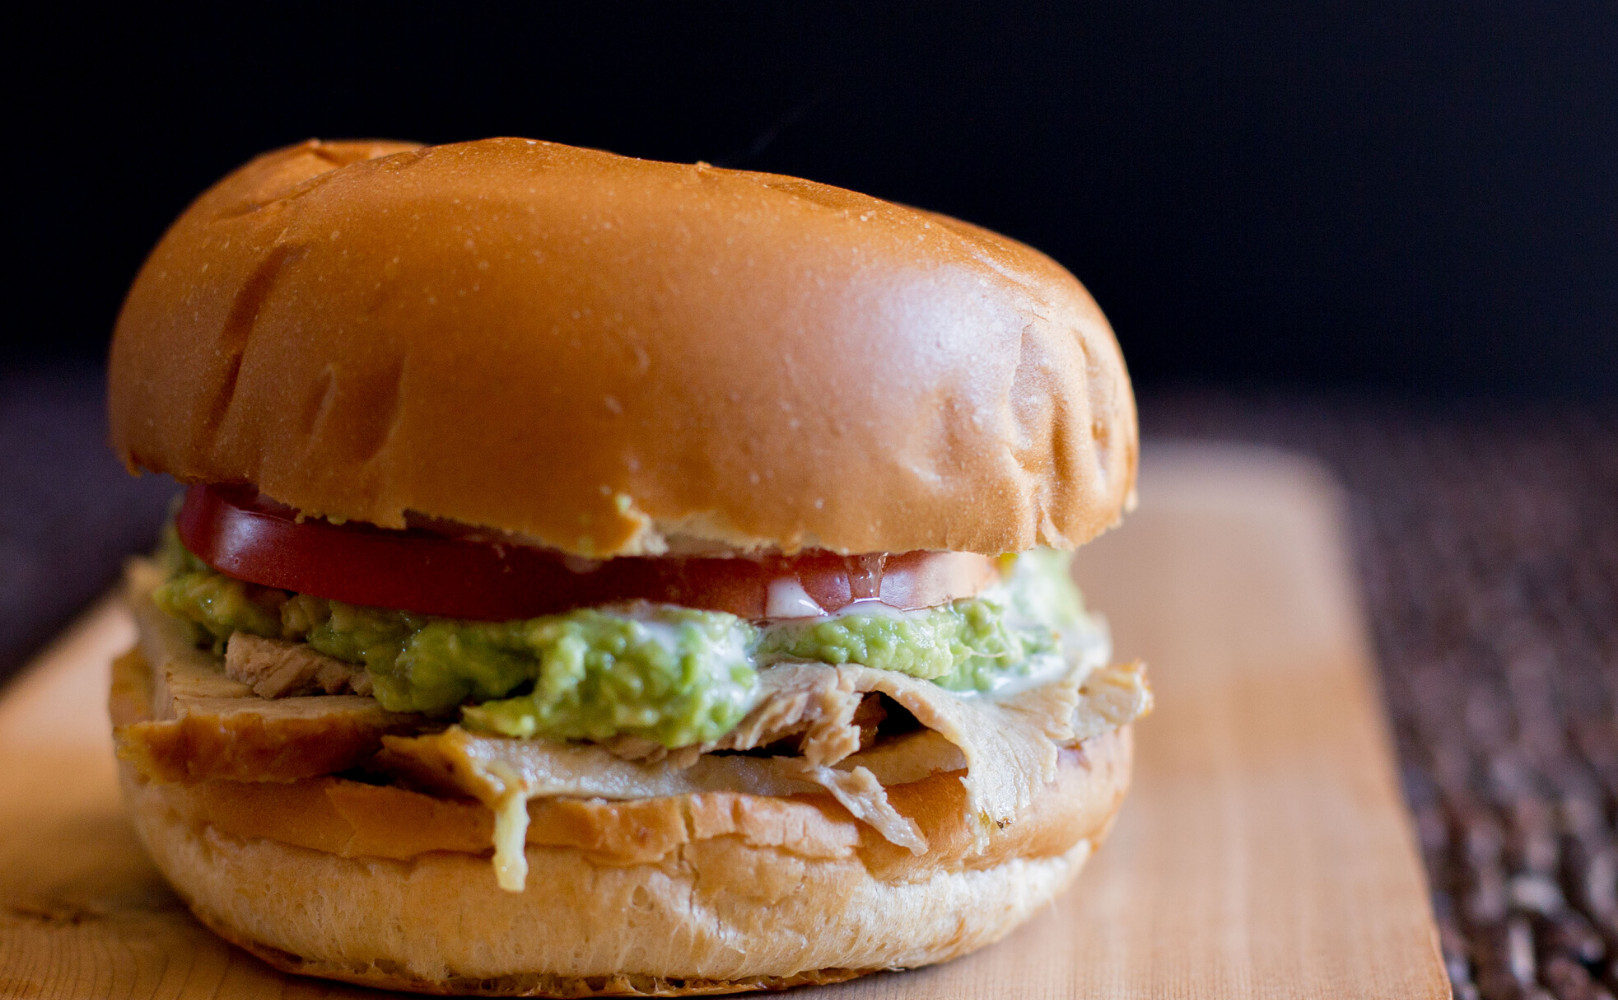
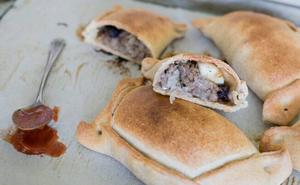
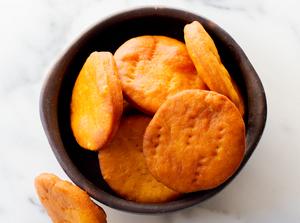
Popular recipes
Easy and delicious
Welcome
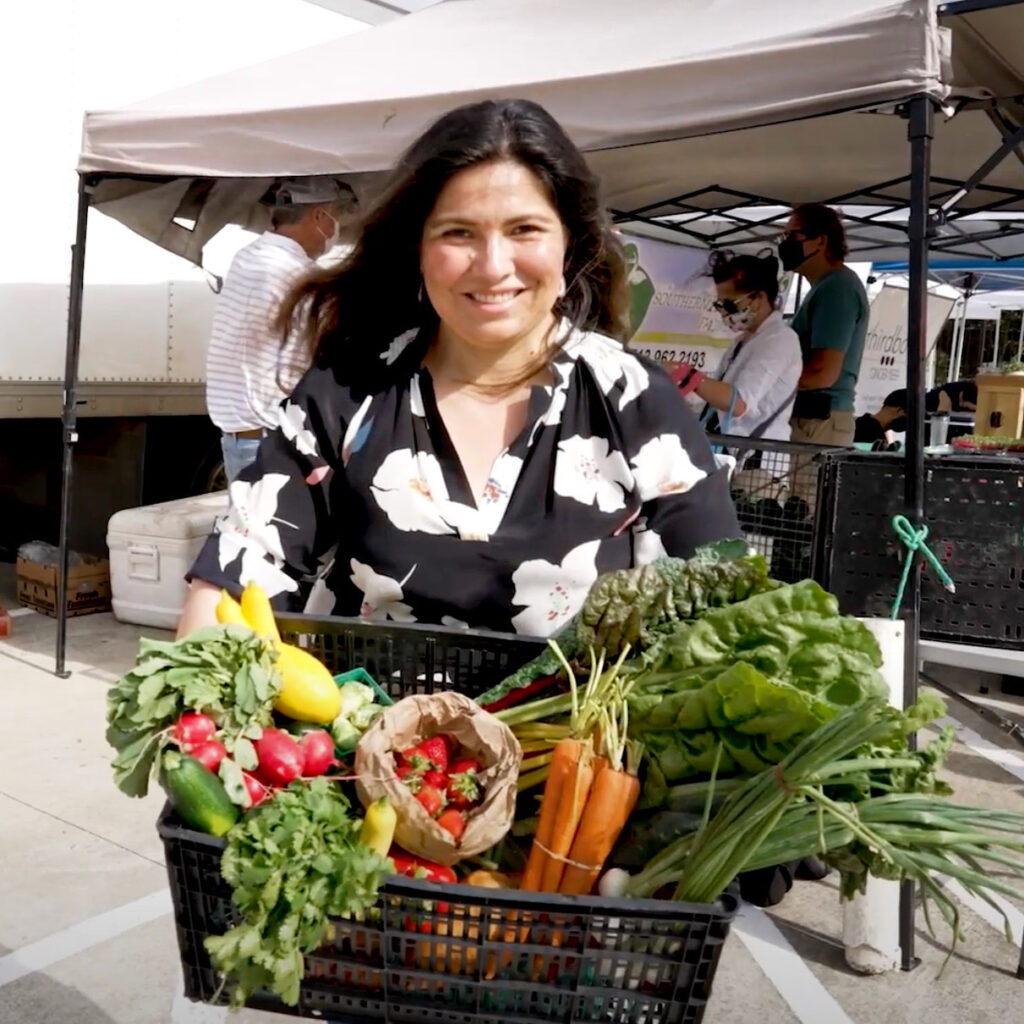
Hi, I'm Pilar!
Latina, mom, cookbook author, physician, recipe developer, photographer, gardener, and writer.
Welcome to my Chilean outpost on the web! I'm thrilled to share the cuisine and culinary culture of my beloved homeland with all of you.
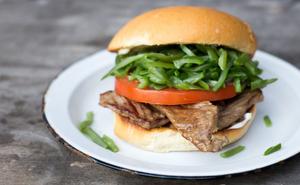
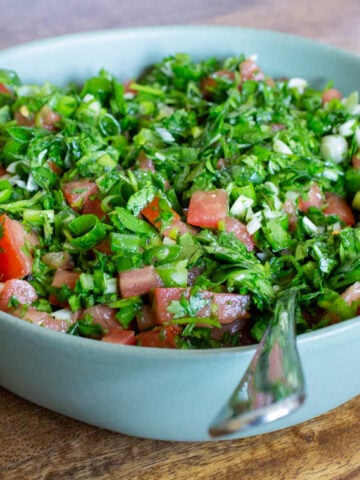


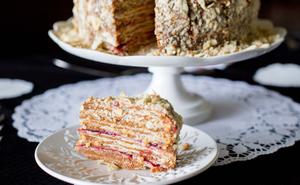
Must-try
The very heart of Chile
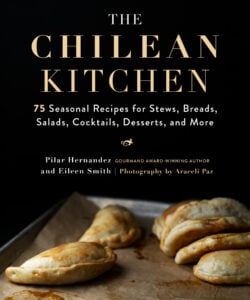
Get The Chilean Kitchen!
75 tried-and-tested, delicious recipes, with clear directions, beautiful prose, and gorgeously photographed. Don't miss it!