
Visit Chilean Breakfast for the traditional recipes.
Here are modern takes on traditional and other recipes popular in Chile.
- Apple Muffins

- Argentinian Medialunas

- Bagels

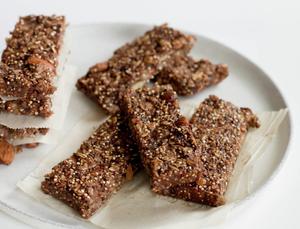
- Banana Quinoa Breakfast Bar
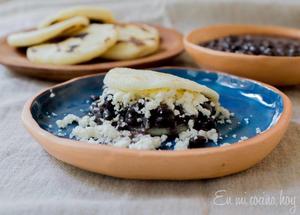
- Domino Arepas with Black Beans
- Easy Whole Wheat Waffles

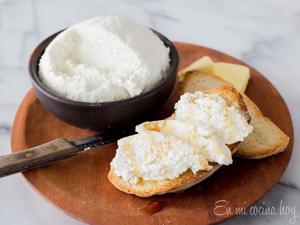
- Homemade Ricotta and visit to Wildcat Dairy Farm
- How to Peel a Cactus Pear

- Mexican Torta With Eggs and Chorizo

- Mexican Vegetarian Breakfast Burritos

- Papaya and Apple Juice

- Pumpkin Pancakes

- Savory Bread Pudding

- Sweet Potato Cinnamon Rolls
