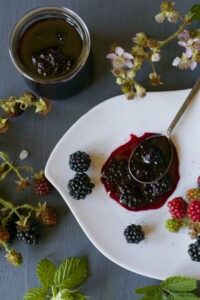
Mermelada de Mora, or Blackberry Jam, is one of the most traditional Chilean jams. It's very popular year-round.
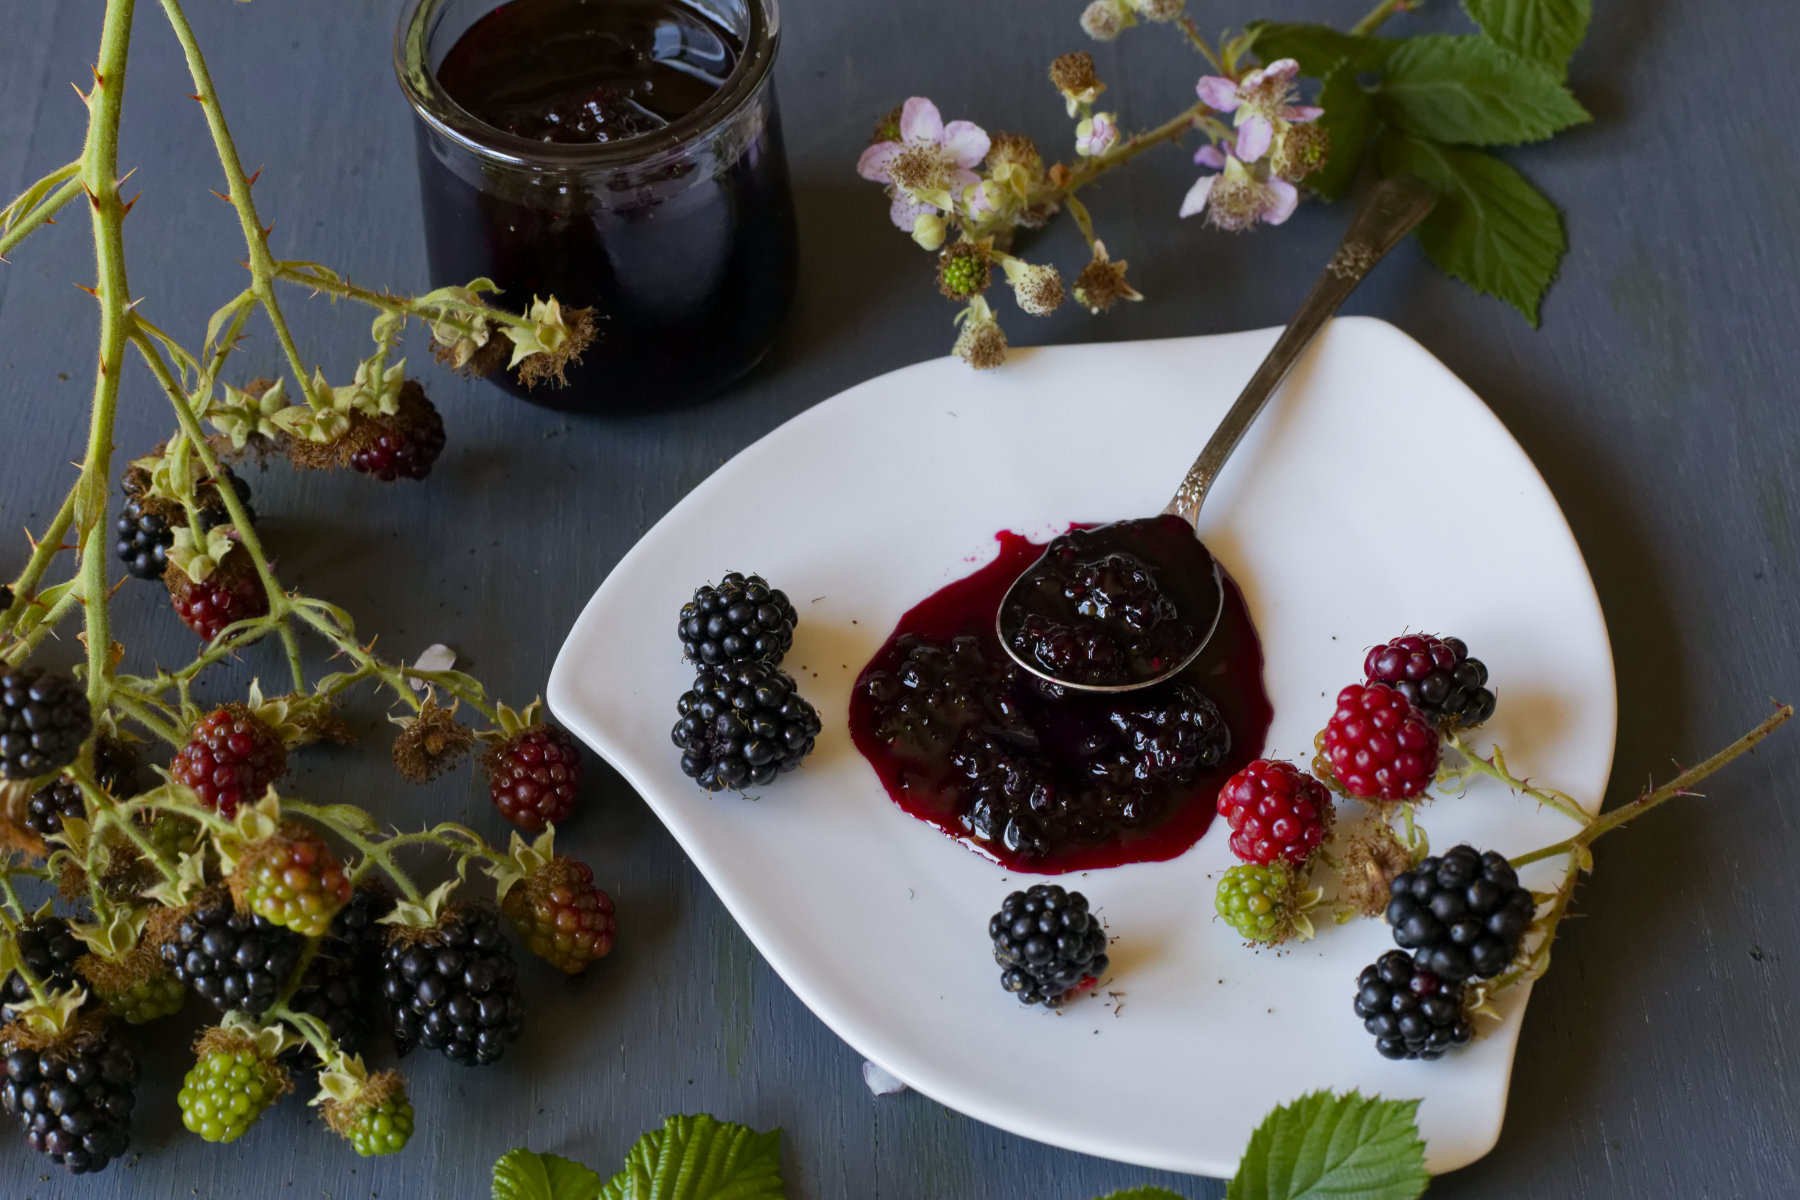
Homemade jam-making in the U.S. typically emphasizes creating a smooth, spreadable consistency, in contrast with Chilean jams, which are runnier. The fruit is still whole, for example, in the case of blackberries.
In Chile, probably everyone has memories of going as a group to pick blackberries for jam. Ripe blackberry season usually caught my family and me in the countryside/beach of Lipimávida, where filling a bucket with blackberries was easy.
During the 20 years I lived in Houston, I had to resign myself to buying blackberry jam, but now in Seattle, the situation is the opposite. In this part of the US, Himalayan blackberries were introduced many years ago, and unfortunately, they escaped from the fields and gardens to natural areas. Now, they are an invasive species that grows everywhere. But at least during July and August, blackberry picking is accessible to everyone in the countryside and the city.
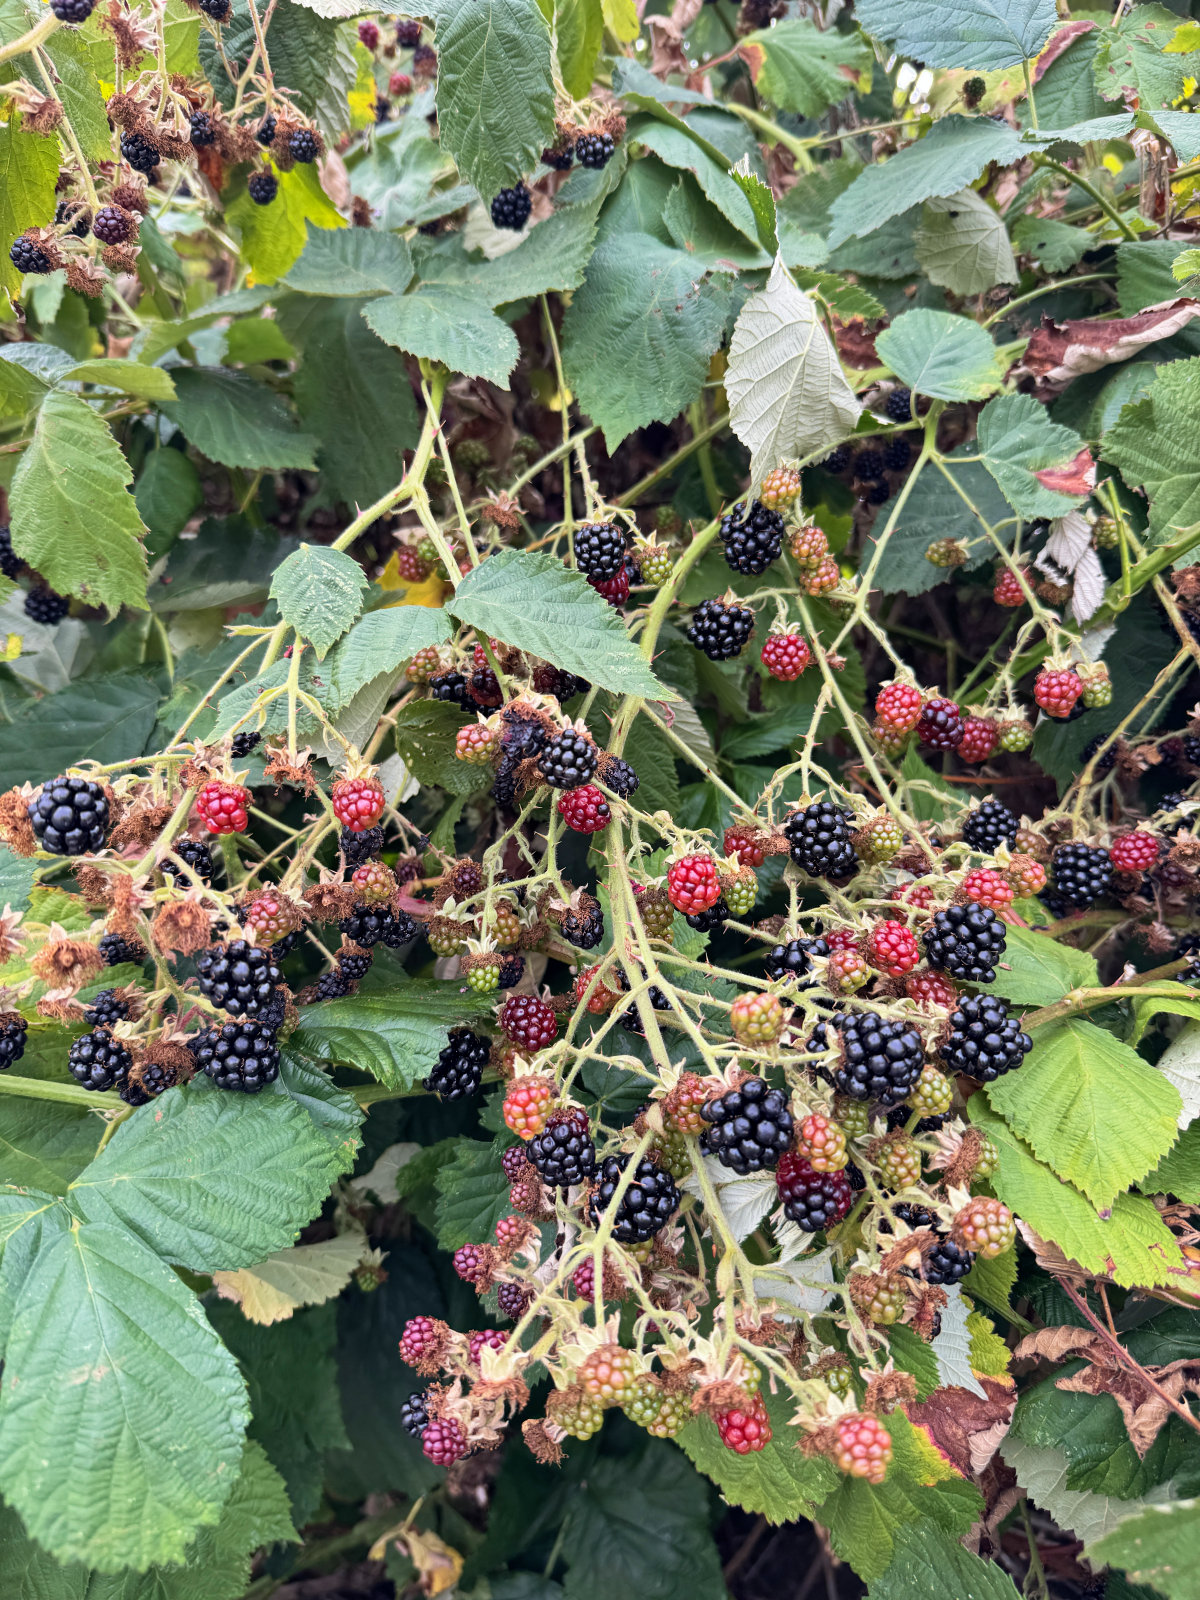
The Himalayan variety of blackberries is not the same as Chilean blackberries; they are larger and juicier, so the jam is thinner, but the flavor is the same, and the preparation is the same. And be careful because all wild varieties have thorns, and it's easy to get scrapes.
Now there are thornless blackberry varieties for cultivation if you want to plant in your garden.
For me, the simpler the jam, the better. I've always considered it an extension of summer, and I want to experience the flavor of the fruit itself, without adding other flavors.
Print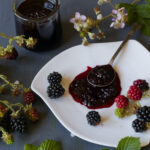
Mermelada de Mora Blackberry Jam
- Prep Time: 20 minutes
- Cook Time: 40 minutes
- Total Time: 1 hour active time.
- Yield: 4 jars
- Category: Jams
- Method: Stove
- Cuisine: Chilean
Description
A traditional Chilean jam.
Ingredients
- Freshly picked blackberries, around 2 pounds
- Granulated sugar
Instructions
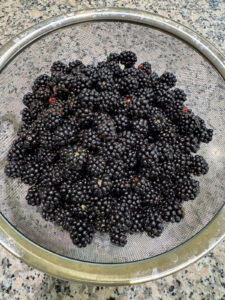
- Wash the blackberries. The easiest way is to fill the bucket with water and shake gently. Let them soak for 5 minutes, then gently drain through a colander.
- Weigh the blackberries and decide how much sugar you want to use. I harvested 2 pounds of blackberries and used 1 pound of sugar. Remember that the amount of sugar you use affects the shelf life of the jam. I freeze my jams so that I can use less sugar.
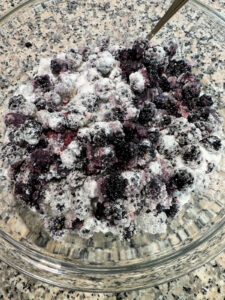
- Gently mix the blackberries and sugar with a spoon. Let it sit in the refrigerator, stirring occasionally, for 4-8 hours. The sugar will dissolve, and the blackberries will release their juice.
- Place the blackberries and sugar in a large, wide-mouthed pot. It doesn't need to be very deep, although it helps prevent splashing. Place a plate in the freezer to test the consistency later.
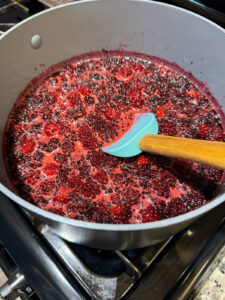
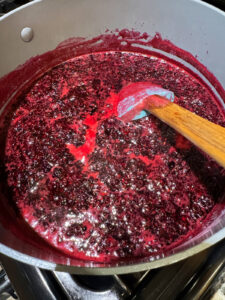
- Cook over medium-high heat until it comes to a boil, stirring occasionally. Reduce the heat to medium. It will begin to foam. There's no need to remove the foam.
- Keep cooking and stirring until the foam almost disappears. From this point, let it cook for 10-20 minutes, boiling and stirring occasionally.
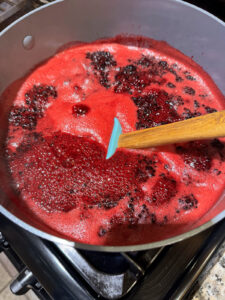
- After 10 minutes, start testing the consistency. Place a teaspoon of jam into the cold plate. Let the jam cool completely and ensure it has the desired flavor and texture. Do not cook for more than 20 minutes.
- Let it cool in the pot and freeze later, or pour it into jars to seal immediately if you wish.