Visit Chilean Desserts for the traditional recipes.
Here are modern takes on traditional and other recipes popular in Chile.
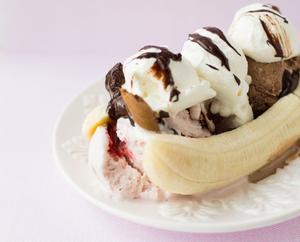
- Banana Split, Chilean Style
- Chilean Lucuma Dessert
- Chocolate Milk Ice Cream with Apple Streusel

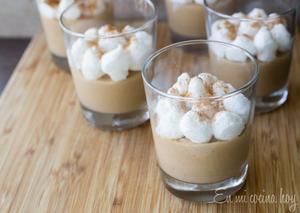
- Cinnamon pudding with Honey Maid cookies

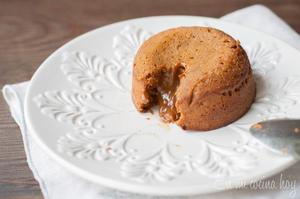
- Dulce de Leche Lava Cake
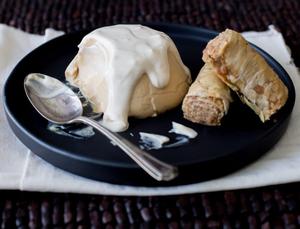
- Dulce de Leche Panna Cotta
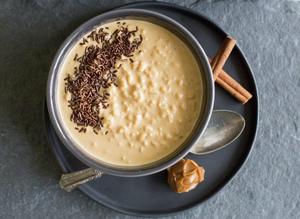
- Dulce de Leche Rice Pudding
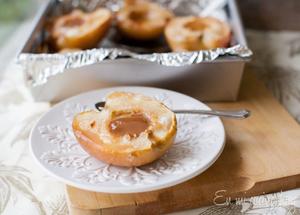
- Easy Baked Apples with Dulce de Leche
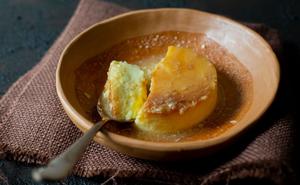
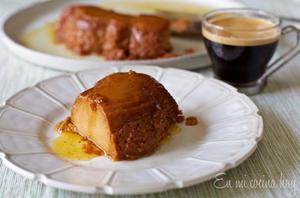
- Easy Dulce de Leche Flan
- Fruit Tart

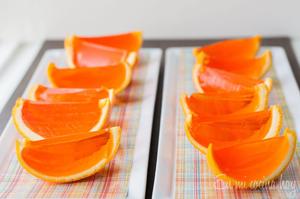
- Gelatin Oranges
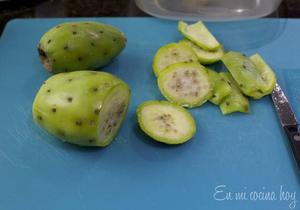
- How to Peel a Cactus Pear
- Iced Chocolate, Chilean recipe

- Lucuma Flan

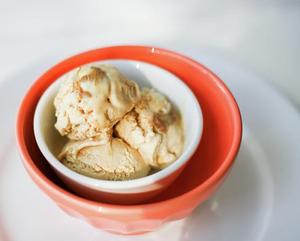
- Lucuma Ice Cream
- Lucuma Macarons

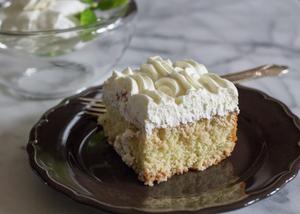
- Lucuma Tres Leches
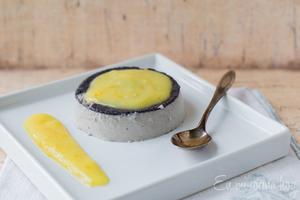
- Maqui Panna Cotta
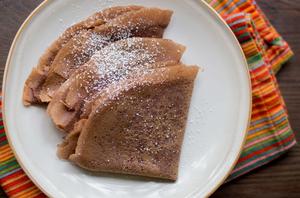
- Maseca Chocolate Crepes
- Pear Clafoutis
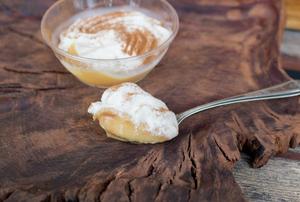
- Peruvian Suspiro Limeño
- Profiteroles

- Rainbow Jello

- Raspberry Mousse

- Strawberry Bavarois

- Strawberry Meringue Trifle

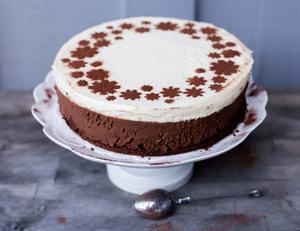
- Triple Chocolate Mousse Cake
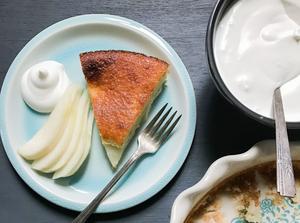
- Yogurt Flan